Synology RAID Set Is Broken or Crashed? Fix it now!
Here you will find out:
- about this issue
- how DiskInternals can help you
Are you ready? Let's read!
In general, Synology restoring deleted files is not such a difficult task if you approach it with full responsibility. First, you need to disable the RAID drives.
To do this, remove all disks from the damaged Synology RAID set and connect them to your working Windows computer. This can be done through the SATA connectors, or you can use SATA to USB converter cables or enclosures to connect Synology RAID drives to your Windows PC or laptop.
You are now completely ready to Synology Hybrid RAID recovery.
Recover data
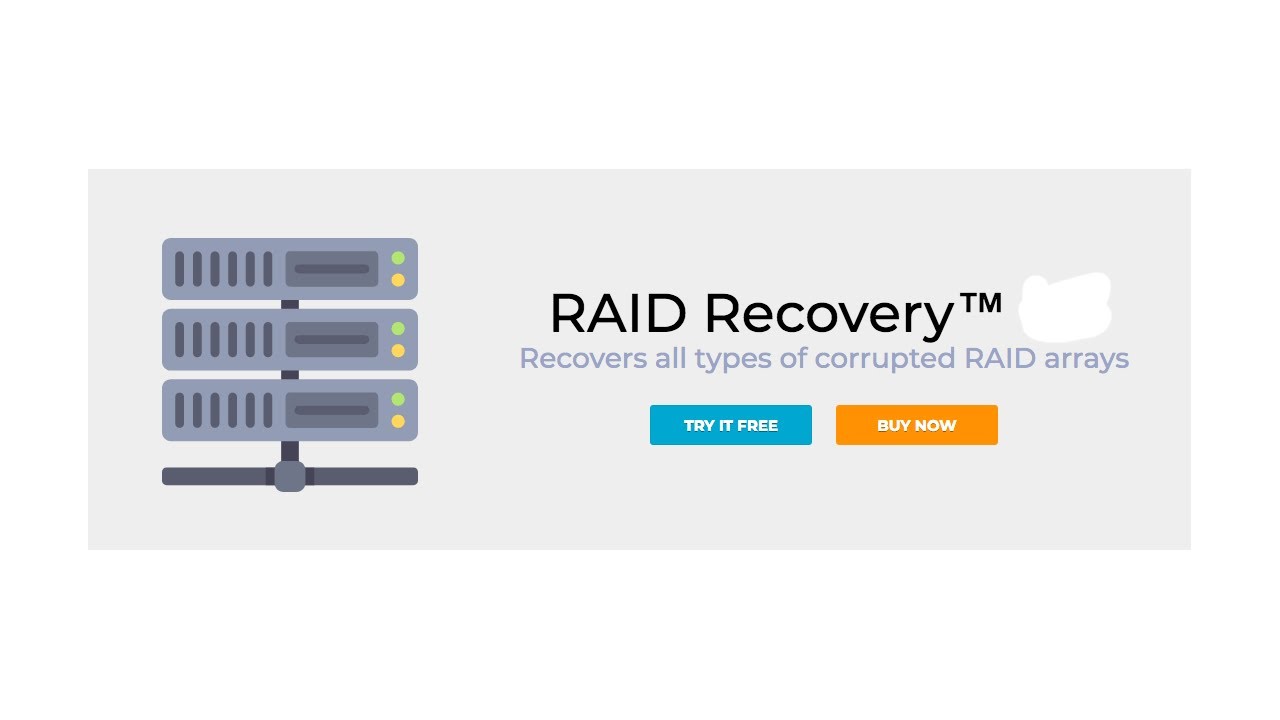
The problem “Synology RAID set is broken or crashed” can unfortunately happen to anyone, although this is not a common occurrence. Despite the high fault tolerance of RAID, there are still cases of disk failure with missing data. In such cases, the best professional software for recovering data from an array (multimedia, documents and other file formats) is DiskInternals RAID Recovery.
Here you can perform both manual and fully automatic recovery of useful information to determine basic parameters such as array type, number of disks in the array, stripe size, RAID controller type, disk order, and other parameters. The DiskInternals RAID Recovery process ignores all major Windows limitations, and the built-in graphical recovery wizard will help you recover your data without crashes, errors or downtime.
The generated virtual disks can be used as local disks, and then use Windows Explorer to view them. The app supports Unicode filenames, layered folders, and many other helper functions that you can learn about with this tool. The preview is also included in this application and can be used for free after the scanning process. The license will be required only after your verification of the quality of data recovery, so you can purchase the utility with full confidence and save the recovered information to any data storage device.
Bonus: DiskInternals offers a free option - creating a disk image. This feature is built into every product of the company, including DiskInternals RAID Recovery. Using it, you will no longer find yourself in a similar critical situation, since you will always have a working copy of the system. This can be a little difficult, since arrays are large, but for data security, this is just a must.
Here are the instructions on how to recover your Synology file system using DiskInternals RAID Recovery.
1. Download and install the damaged RAID recovery utility on your computer, laptop or server.
2. Run the graphical recovery wizard and follow its instructions carefully.
3. Select the newly mounted RAID to recover and decide which scan you prefer: full (to get the best results) or fast.
4. After scanning, the program will display all the results, any of these files can be viewed for free by clicking on the preview option in a new window.
5. To save and export the found files from the recovered array, you need to purchase a license for this software. Then complete this process and export the data from the array to the desired drive using the Export Wizard.
It's time to start recovering data from Synology RAID!
Note: learn more about RAID controller!