
Remove mdadm RAID Devices – How to do it?
The mdadm utility is the most straightforward command-line tool for creating RAID on Linux-based systems. With mdadm, you can set up various RAID levels and delete them whenever you decide to discontinue using the storage. But how do you remove mdadm RAID devices? It requires stopping the RAID first and executing a few commands. There are numerous reasons to remove an mdadm device, such as rebuilding the array or setting up a different RAID level. This article provides comprehensive steps for removing an mdadm RAID level on Linux systems without losing your vital files. Be sure to create a full backup before proceeding with this guide.
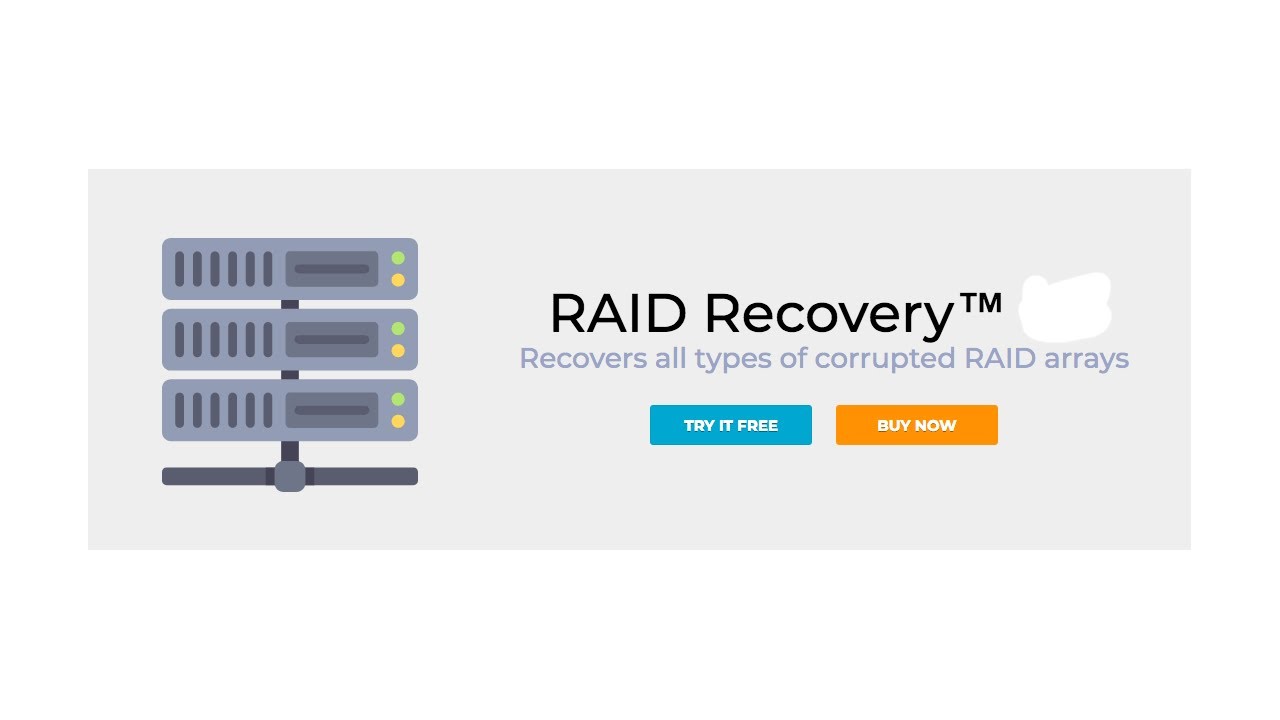
Ready to get your data back?
Need to repair software or hardware RAID? To start recovering data from RAID drive, press the FREE DOWNLOAD button to get the latest version of DiskInternals RAID Recovery® and begin the step-by-step recovery process. You can preview all recovered files absolutely for free. To check the current prices, please press the Get Prices button. If you need any assistance, please feel free to contact Technical Support. The team is here to help you get your data back!
How to Remove mdadm Software RAID Devices in Nine (9) Detailed Steps
Step 1: Check the RAID details
First things first, you need to check the RAID details and view every information about the device. Here is the command to check your mdadm RAID device details. For this article, we are trying to remove the RAID array /dev/md1.
$ mdadm --detail /dev/md1
The output will show details about the /dev/md1 RAID array; here is where you can confirm if the RAID is still in good condition for any action to take place.
Step 2: Unmount and Remove all Filesystems
Next, you have to unmount any filesystem configured in the RAID array. If there are multiple filesystems, you have to remove them one after another. This is possible and straightforward using the “umount” command or “lvremove” for removing logical volumes.
$ umount /dev/md1
Removing a Logical Volume
$ lvremove /dev/test1/install-images
The essence of unmounting active filesystems in a mdadm RAID you want to remove is to prevent file corruption or irrecoverable data loss.
Step 3: Identify the mdadm RAID Device
In this step, we need to identify the exact drives used in the RAID array; only when you know the exact drives in your array can you successfully remove them. When this command is triggered, ensure to note down the drive details of the mdadm RAID you want to uninstall. Here’s the command to trigger this action:
cat /proc/mdstat
You will get the full details of the drives in your RAID array; if you use more than two drives, you will all of that in the output.
Step 4: Stop the RAID Device and Remove it From /etc/mdadm/mdadm.conf
Here comes one of the important procedures to take in removing a mdadm RAID device. You have to stop the RAID first, before removing a device.
$ mdadm --stop /dev/md1
This will stop the RAID array from working. However, after this command comes out successfully, don’t be in haste to physically remove any drive from the computer. You have to complete the entire procedure before removing a physical drive from the host PC.
Additionally, you should edit the mdadm configuration file to remove references to the stopped RAID array. This will further ensure a seamless outcome with a low probability of facing a data loss case.
$ nano /etc/mdadm/mdadm.conf
The command above will remove configuration references from the RAID device you want to remove.
Step 5: Remove mdadm RAID Device
With the previous steps achieved successfully, you can now remove the mdadm RAID device. Sometimes, you may get an error when you type the “remove” command; but, when this error occurs, it simply means you need to delete the superblocks labels, and this is an easy task. The mdadm command to remove a RAID device is:
$ mdadm --fail /dev/sdf1 --remove /dev/sdf1
(This command removes one specified drive from the RAID array, if you’re removing all the drives, use $ mdadm --remove /dev/md1)
Note: to remove a single drive from your array, you need to mark the drive as a “failed” one and then proceed to remove it. This does not necessarily mean that the drive was faulty, you just did that so that the system can unmount the drive without the RAID array being affected. However, this depends on the RAID level you had set up and the number of disks in the rack; some RAID levels require at least three disks to function, so if you’re left with just three disks on such RAID levels, removing one of them will definitely fail the entire RAID.
Step 6: Remove the Superblocks
The mdadm utility uses md superblocks as a header to assemble and manage RAID component devices in an array. So, even when you remove a device from the array, the superblocks might still be active, and this will prevent you from using those “removed” RAID disks for another RAID configuration.
You have to manually remove superblocks for the drives you just removed from the mdadm RAID array. This implies that if you have up to four disks in your RAID array, and you removed the RAID array entirely, you have to remove superblocks for the entire four drives – you just have to keep commenting the drives in the command. But if you removed just one device, then comment out the superblock for that device.
$ mdadm --zero-superblock /dev/sdf1
Here, we removed only sdf1 from the RAID array, so we have to comment out its superblock. If you removed multiple drives, comment them in the command. For any disk you fail to remove its superblock, you won’t be able to reuse the disk in any future configuration.
This step is often overlooked by some, but it is actually very important since mdadm does not automatically clear its member drive’s superblock even when the drive has been removed from an array. This is something you must do manually.
If the superblock is not cleared and you use this “removed” device in a computer where the mdadm RAID is configured, the mdadm installation will try to automatically add the drive to its previous array and cause a fatal storage error which would lead to data loss.
Step 7: Verify RAID Device Was Removed
Apparently, you will want to confirm if what you did worked as expected. To find out if your mdadm RAID device(s) have been successfully removed from the system – along with the configurations, here is the command:
cat /proc/mdstat
The output should be different from what it showed the first time you ran this command before the “removal.”
Step 8: Overwrite Disks With Random Data (Optional)
For any reason at all, if you wish to overwrite the data on the drive you just removed from a mdadm RAID array, it is possible using the dd command, but of course, this means you will lose the previous data saved on the drive.
dd if=/dev/urandom bs=4096 of=/dev/sdf1
Note: for Ubuntu 22.04+ and Debian 11+, you can use /dev/random. This especially works on NVMe drives.
Step 9: Change the Number of Devices for the RAID Array (Optional)
Here is another optional step and it’s potentially risky as any typo in the command may lead to irreversible data loss. However, this method is to instruct the system to adjust the number of drives in an existing RAID after you have removed or added a new drive.
If you don’t instruct the system to change the number of drives in the array, it will always mark a “removed” drive as “missing” upon each system restart. Let’s say you had four drives in your RAID and you removed one – now left with 3 drives, here’s how to reconfigure the array to use only the three drives.
$ mdadm --grow --raid-devices=3
Note: it may just be advisable to recreate the array with 3 drives as this step is array-specific.
To add a new member drive to the array, connect the new drive to the system and still use the “–grow” command.
$ mdadm --add /dev/md1 /dev/sdc <--- /dev/sdc is the new drive to add
$ mdadm --grow --raid-devices=4
Note: Make sure you run a full backup of your data before trying out this particular step. You can’t use this option to switch RAID levels; for example, switch from RAID 1 to RAID 0 or RAID 5. To switch RAID levels, stop the existing RAID, unmount, and delete it entirely, and then create the new RAID. Either way, make BACK UP FIRST!
How to Recover RAID on Linux (MDADM)?
Thinking of how to recover data from your Linux RAID array? Well, there are several possible scenarios that could lead to RAID data loss. However, most of these scenarios can be recovered using a professional RAID data recovery solution like DiskInternals RAID Recovery.
DiskInternals RAID Recovery is a multi-feature RAID data recovery solution for Windows OS and Linux OS. It supports all known Linux OS filesystems, as well as Windows filesystems. Using the software, you can recover data from failed RAID drives, disk images, VMDK files, and inaccessible RAID volumes.
The DiskInternals RAID Recovery software supports RAID 0 – 6 and also supports nested RAIDs like RAID 10, RAID 01, RAID 60, RAID 50, and others. It is a powerful tool for IT professionals and system admins – regularly updated for improved performance and inclusion of new RAID recovery features.
Main Features of DiskInternals RAID Recovery:
- Mounts virtual drives as local drives and make them accessible from File Explorer
- Restores data from Linux, Apple, UNIX, and NAS RAID drives
- Recovers lost files from RAID-enabled motherboards from Intel, NVidia, or VIA.
- Creates free disk images
How to Use:
- Remove the RAID drives and connect them to a Windows OS computer
- Download and install DiskInternals RAID Recovery on the Windows PC; this software can run on Windows 7-11 or Windows Server 2003-2019.
- Launch the RAID Recovery software.
- If you want to run the recovery manually, close the “Recovery Wizard,” otherwise, follow the Wizard’s automatic prompts, which is quite faster.
- Select the Linux drive to recover from, identify the RAID array, and choose a Recovery Mode. Well, it is advisable to select Full Recovery mode – although it’ll take longer, it ensures complete and effective results.
- Once you launch the recovery scan, DiskInternals RAID Recovery will automatically check the status of the RAID array, file system, controller, and disks, before proceeding to attempt the data recovery.
- When the scan completes, you will see both lost and existing files on the hard drive; the lost files will be marked with a red asterisk. (Note: the scan may take long hours depending on the total data size on the hard drive).
- The recovered files will be available as “Read Only,” and you can preview most of them. The preview is to confirm they are the ones you want to recover. With this confirmation done, to save the files back, you must need to upgrade to the paid version of DiskInternals RAID Recovery.
Conclusion
You can remove a single drive or multiple drives from a mdadm RAID on Linux. However, for each drive you remove from the array, ensure to clear the superblocks, otherwise, the drive won’t be usable for another RAID setup and you may lose all your data on the device. It is important to pay attention to every step explained in this article when removing a mdadm RAID device.
Finally, you may want to keep DiskInternals RAID Recovery handy in case of any data loss scenario that may occur after you’re done with the drive removal. Also, you should make regular backups of the data you save to a RAID array, and before you make any advanced changes to the array, do an immediate full backup.
FAQ
-
How do I remove RAID from Mdadm? / How do I delete a RAID on mdadm?
Removing or deleting a RAID array managed by mdadm on Linux involves several steps to ensure data is handled safely and the RAID is properly dismantled. Here's a detailed guide:
Step 1: Backup Data
- Important Precaution: Before proceeding, back up any important data stored on the RAID array. Removing the RAID will make all data inaccessible.
Step 2: Unmount the RAID Array
- Unmount Filesystem: Use the umount command to unmount the RAID device. Replace /dev/mdX with your actual RAID device identifier. sudo umount /dev/mdX
Step 3: Stop the RAID Array
- Deactivate RAID: Use mdadm to stop the active RAID array. sudo mdadm --stop /dev/mdX
- Here, /dev/mdX is the RAID device you intend to delete.
Step 4: Remove the RAID Configuration
- Delete RAID Device: Remove the RAID device's configuration to prevent it from being reassembled automatically. sudo mdadm --remove /dev/mdX
Step 5: Zero the Superblock on Each Disk
- Clear RAID Metadata: Use mdadm to zero the superblock on each disk that was part of the RAID. This step is crucial to ensure the disks are no longer recognized as part of a RAID array. Replace /dev/sdX with the actual device identifiers. sudo mdadm --zero-superblock /dev/sdX
- Repeat the above command for each disk in the RAID array.
Step 6: Update the mdadm Configuration
- Edit mdadm.conf: Remove or comment out the line in /etc/mdadm/mdadm.conf that references the deleted RAID array. This prevents the array from being reassembled on boot.
Use a text editor like nano or vim to edit the file: sudo nano /etc/mdadm/mdadm.conf
- Update Initramfs: After editing mdadm.conf, update the initramfs for your system to apply the changes. sudo update-initramfs -u
Step 7: Verify RAID Removal
- Check RAID Status: Ensure that the RAID array is no longer active or recognized by the system.
- cat /proc/mdstat
- List Block Devices: Confirm that the individual disks no longer show RAID configurations lsblk
-
How do I delete a RAID?
For Software RAID (e.g., Windows Storage Spaces, Linux mdadm):
- 1. Backup Data: Always start by backing up any important data you wish to keep. Deleting a RAID array will make the data inaccessible.
- 2. Access RAID Management Tool:
- Windows: Open the Storage Spaces control panel or Disk Management tool.
- Linux: Use the mdadm tool for RAID arrays managed by mdadm.
- 3. Dismantle the RAID Array:
- Windows: In Storage Spaces, select the RAID (Storage Space) you want to delete and choose "Delete" or "Remove". In Disk Management, right-click the RAID volume and select "Delete Volume".
- Linux: Use mdadm to stop the RAID array with sudo mdadm --stop /dev/mdX, then remove it with sudo mdadm --remove /dev/mdX. Finally, zero the superblocks on the involved disks using sudo mdadm --zero-superblock /dev/sdX.
- 4. Verify the Deletion: Check that the RAID array no longer appears in your RAID management tool or system settings.
- 5. Reformat Drives (Optional): If you plan to use the drives individually or in a new RAID configuration, you may need to reformat them.
For Hardware RAID:
- Backup Data: Ensure all critical data from the RAID array is backed up.
- Reboot and Access RAID Controller: Restart your computer and enter the RAID controller's BIOS setup utility during the boot process (this usually involves pressing a specific key like F10, F2, or Del).
- Locate RAID Management Section: Within the RAID controller's BIOS utility, navigate to the RAID management section where your RAID arrays are listed.
- Select the RAID Array to Delete: Highlight the RAID array you wish to delete.
- Choose the Option to Delete/Remove the RAID: This might be labeled differently depending on the RAID controller manufacturer (e.g., "Delete Array", "Remove Array", "Clear Configuration").
- Confirm the Deletion: You may be prompted to confirm the deletion. Be aware that this step will result in data loss on the RAID array.
- Exit RAID BIOS and Reboot: Save changes and exit the RAID controller's BIOS utility. Your system will then reboot.
- Reformat Drives (Optional): After deletion, if you plan to use the drives for other purposes, you may need to reformat them through your system's disk management tool.
-
How to delete RAID array with CTRL + i
Step 1: Backup Your Data
- Important: Before proceeding, ensure you have backed up all important data stored on the RAID array. Deleting the RAID array will erase all data contained within it.
Step 2: Enter the RAID BIOS Setup
- Reboot Your Computer: Restart your system.
- Access the RAID Setup: During the boot process, press CTRL + I when prompted to enter the Intel RAID BIOS setup utility. The prompt usually appears briefly after the initial POST screen. Timing is crucial as the window to press CTRL + I can be short.
Step 3: Navigate to the RAID Management Menu
- Once inside the Intel RAID BIOS setup utility, you will see a menu that may include options such as Create RAID Volume, Delete RAID Volume, and Exit.
- Use the arrow keys to navigate through the options.
Step 4: Select the RAID Array to Delete
- Navigate to the Delete RAID Volume option or a similarly named option depending on your BIOS version.
- Select the RAID volume/array you wish to delete. There may be a list of available RAID arrays if you have more than one configured.
Step 5: Confirm the RAID Deletion
- After selecting the RAID array to delete, you will likely be prompted to confirm the deletion. This is a critical step as it will result in data loss.
- Confirm the deletion according to the on-screen instructions, which usually involves selecting a Yes or Confirm option.
Step 6: Exit the RAID BIOS Setup
- After successfully deleting the RAID array, navigate to the Exit option within the RAID BIOS setup utility.
- Save changes and exit. Your system may reboot automatically.
Step 7: Reformat Drives (Optional)
- After deleting the RAID array and exiting the BIOS, the individual drives will be independent and may need to be initialized and formatted before being used again.
- You can manage these drives through your operating system's disk management tool to create new partitions, format them, or prepare them for a new RAID configuration.
-
How to remove disk from RAID 1 with mdadm
Step 1: Backup Your Data
- Important: Before proceeding, ensure you have backed up all important data stored on the RAID array. Deleting the RAID array will erase all data contained within it.
Step 2: Enter the RAID BIOS Setup
- Reboot Your Computer: Restart your system.
- Access the RAID Setup: During the boot process, press CTRL + I when prompted to enter the Intel RAID BIOS setup utility. The prompt usually appears briefly after the initial POST screen. Timing is crucial as the window to press CTRL + I can be short.
Step 3: Navigate to the RAID Management Menu
- Once inside the Intel RAID BIOS setup utility, you will see a menu that may include options such as Create RAID Volume, Delete RAID Volume, and Exit.
- Use the arrow keys to navigate through the options.
Step 4: Select the RAID Array to Delete
- Navigate to the Delete RAID Volume option or a similarly named option depending on your BIOS version.
- Select the RAID volume/array you wish to delete. There may be a list of available RAID arrays if you have more than one configured.
Step 5: Confirm the RAID Deletion
- After selecting the RAID array to delete, you will likely be prompted to confirm the deletion. This is a critical step as it will result in data loss.
- Confirm the deletion according to the on-screen instructions, which usually involves selecting a Yes or Confirm option.
Step 6: Exit the RAID BIOS Setup
- After successfully deleting the RAID array, navigate to the Exit option within the RAID BIOS setup utility.
- Save changes and exit. Your system may reboot automatically.
Step 7: Reformat Drives (Optional)
- After deleting the RAID array and exiting the BIOS, the individual drives will be independent and may need to be initialized and formatted before being used again.
- You can manage these drives through your operating system's disk management tool to create new partitions, format them, or prepare them for a new RAID configuration.