Let's deal with Windows old folder on your computer
Here you will find out:
- what is Windows.old folder
- methods to erase prior Windows files
- how DiskInternals software can help you
Are you ready? Let's read!
Windows.old folder — what is that?
If you see a Windows.old folder, you may not know why it is needed and what can be done with it. In fact, this folder is very useful and is automatically created when OS is updated. The Windows.old folder has the configurations and settings of your previous OS version and, if you are not comfortable with the current Windows release, there is a chance to bring back prior operating system condition.
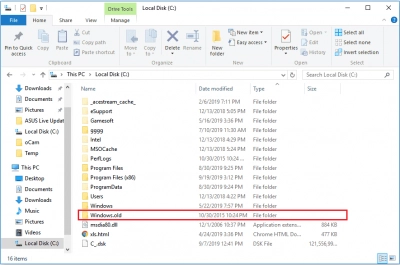
But, since this folder is quite voluminous, it cannot be stored on a computer for a long time, or computer performance will decrease. Therefore, you have 30 days to understand and decide whether you need an old OS since it is after this period of time that the Windows.old folder will also be automatically deleted.
Here are two brilliant short methods to help you. Each of them is simple and easy to apply. All you need to do is to read the article and follow the algorithm. It would not take more than 15 minutes of your time!
Why you may want to remove the Windows prior folder?
Mostly, if you need to find a few more GB to install new software or to launch an existing one.
Another common situation is when the laptop/PC starts to hang up (that may help too).
Method 1. Let your Disk Cleanup utility run
If your PC/laptop works slowly and freezes up, this way is a perfect reason for deleting old Windows files.
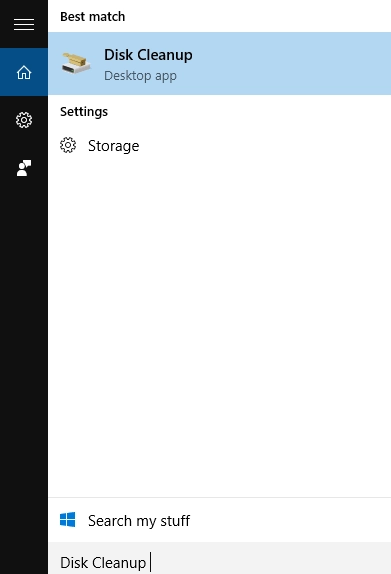
In the Search Windows bar type "Disk Cleanup". Open it.
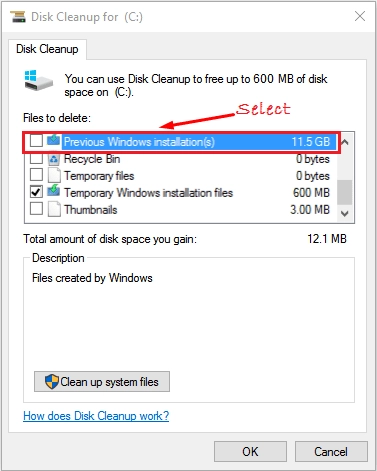
Then click on the Clear System Files tab. Select the Previous Windows installations, and then press OK or Enter. Restart the computer after this operation and that’s it!
If this method did not suit, try the second one.
Method 2. Change temporary file settings
This is also a simple and easy way to use.
Go to Start and select Computer Settings. Then select: System -> Storage -> Free up space now -> Remove files. Thus, only will Windows.old folder will be erased.
Method 3. Time will make it instead of you
As it was said above, these files will not be stored for more than a month. So, if you need extra space on your disk C but afraid or lazy to apply any of these methods, you can just wait. In this case, "do nothing" is also a solution.
If extra files were deleted
If, after removing the Windows.old folder, you find out that there were other important documents that you accidentally deleted – no need to worry! DiskInternals Uneraser will help you to restore them.
This software will return all files and documents no matter what format they are and no matter what size they are. DiskInternals Uneraser deeply scans any kind of storage device (hard drive, internals/external SSD, flash drives, SD cards, memory cards, etc.) and will find all the vanished data.
Using the Preview function (it totally for free), you can choose the files you need, and then click on the Recover button.
Read the instructions for this software and feel free to start file recovery:
- 1. Download DiskInternals Uneraser (paid or trial version).
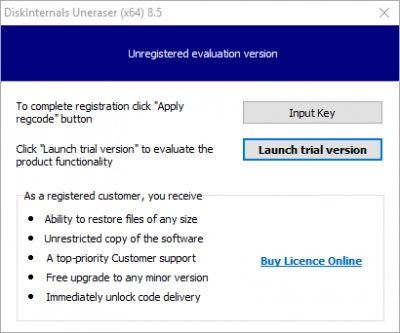
- 2. Install the tool and open the Recovery Wizard.
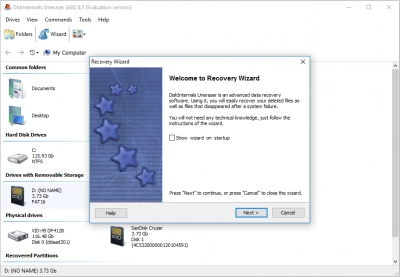
- 3. At the prompting of the Wizard, you need to select a disk for scanning and a file format for searching.
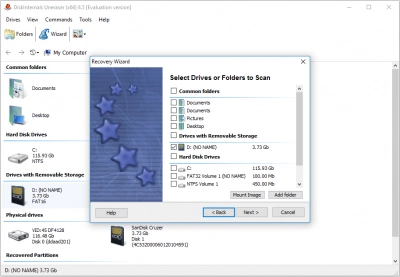
- 4. Click on the Scan button after selecting Fast or Deep scanning.
- 5. Preview. Right-click to select the file you were looking for, so you will see in what capacity he has recovered.
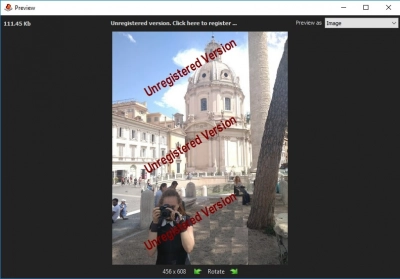
- 6. Save the desired files or all found files. To do this, you must have a license that you can buy on the website without leaving your home.
- 7. The wizard will help you complete the recovery process, so follow its recommendations.
