
What should you do if BOOTMGR is compressed: Press Ctrl + Alt + Del to restart error occurs?
In this article you will find out:
- why does “BOOTMGR is compressed” error occur
- how to deal with an issue
- how to protect your data
Are you ready? Let's read!
Why does “BOOTMGR is compressed” error occur?
File compression is a great feature with which the user can reduce the size of any data and thus reduce the amount of space they use on hard drives. However, the system boot sector code cannot unpack files on its own. On newer operating systems, the boot sector code is for loading the BOOTMGR file.
This file is used to boot the operating system kernel as well as start Windows, and it is located in the active partition’s root directory on the first boot disk. Thus, when the boot sector detects that the BOOTMGR file is compressed, the boot process no longer continues, and you see the error “bootmgr is compressed press ctrl alt del to restart” on the monitor screen.
How to deal with “BOOTMGR is compressed” error?
1. Startup Repair
Use the required Windows installation CD / DVD!
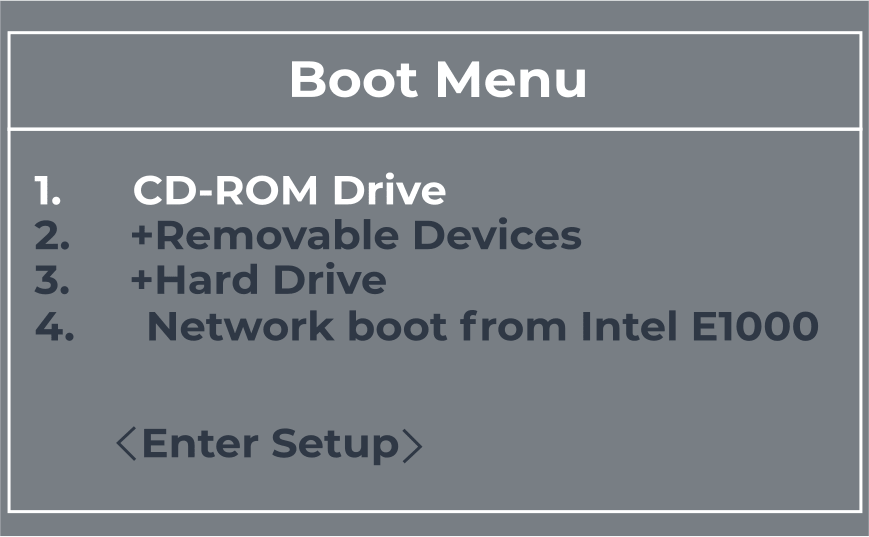
To get started, insert the installation DVD into your PC’s CD-ROM drive and make sure the computer is completely turned off. Next, turn on your computer in the usual way.
You must select the “Repair your computer” link in the lower-left corner, and then select “Startup Repair”. Next, the utility will begin a step-by-step check for system startup problems and, as far as possible, will fix all the errors that have occurred.
Rest assured, Startup Repair does a great job with the “bootmgr is compressed” problem. If, nevertheless, you could not solve the problem this way, then try the next method.
2. Disable Compress this drive option
You can simply deactivate the disk compression function and then try restarting your computer.
Since it is not yet possible to boot the system normally, you will need an installation disc.
So, once booted from the installation DVD, click Repair your computer, and then select your operating system.
Now, click on “Load Disks” and navigate to your boot disk. Most often, this is drive C; select it with the right mouse and click Properties. In the Advanced tab, uncheck the option “shrink this disk to save space” and, as mentioned above, restart your computer.
3. Manual update
In the end, you can simply replace BOOTMGR with the correct version and forget about the problem.
Boot from the Windows installation disc as described in the previous methods and click "Repair your computer". Next, you need to click the Command Prompt in the System Recovery Options section.
The basic command looks like this:
bcdboot C: \ Windows / s E: \ and press Enter.
Where C: \ Windows is the Windows installation folder and E: \ is the active boot partition.
Now, after rebooting the system, the problem should be gone.
Since fixing an error with the boot sector is not very easy and safe, you need to play it safe and restore inaccessible files first, just in case.
The most convenient way to recover damaged, deleted, inaccessible files from any disk is by using a special data recovery program, DiskInternals Partition Recovery. The program is equipped with a reliable and intuitive recovery wizard and, by the way, you can choose one of three helpers according to your file system. If you close the recovery wizard, you can take advantage of the free disk imaging function and use it at the right time.
You can download and try this utility for free at any time to get started before purchasing a license. Thus, you will learn about all the advantages, additional free features, and all the nuances of working with DiskInternals Partition Recovery.
Here's how to do it:
- 1. Download and run DiskInternals Partition Recovery on your computer.
- 2. Open the Recovery Wizard, which most often automatically prompts you to select the basic search parameters: drive to scan, format of lost files, and other preferences.
- 3. Scanning in fast or full (recommended) modes will take extra time from you.


- 4. Preview is a free feature that will let you know about the integrity of the recovered files and give you more confidence.


- 5. Save the recovered files using a license that can be purchased here.
After that, access to technical support is activated within a year from the date of purchase of the license. You can use this convenient option at any time of the day, rest assured!