How to Recover Files from a Hard Drive that Won't Boot on Windows
Here you will find out:
- how to recover files from a hard drive that won't boot on Windows 10/11
- what methods can be useful for the hard drive that won't boot
- how DiskInternals can help you
Are you ready? Let's read!
How to recover files from a hard drive that won't boot on Windows 10/11
This question will become your main question if the hard drive refuses to work.
In general, before a disk dies, it warns you with a variety of symptoms, but often, inexperienced users ignore it. As a result, there is a loss of a disk with all data and materials. In order to save the situation and return at least the data, you need to carefully study and apply this article as intended.
Method 1. Take out the disk and put it into another PC
Before doing this, unplug the power cord and turn off the computer or laptop. Then open the back cover of the system unit and carefully proceed with removing the hard drive. First, unscrew the screws, and then disconnect all the wires connected to it separately and without strong pressure. Now connect it to another computer.
However, keep in mind that if your computer is under warranty, then all these actions will break it. Therefore, in this case, it is better to immediately take the computer to a service center.
If you are an experienced user and the warranty has expired, feel free to use this method to extract data from your hard drive.
In any case, there is still another method for recovering files from an external hard drive that won't boot.
Method 2. Try the disk as external storage
You can use the disk as external storage. You can remove your internal hard drive and connect it as an external drive to another computer.
How to recover files from a hard drive that won't boot on Windows 7, 8, 10, 11?
Here, let’sl talk about DiskInternals Partition Recovery, which has helped thousands of users to restore seemingly permanently lost photos, music, illustrations, documents, etc. This application works with hard cases, and sometimes even makes the impossible possible. Each section is scanned individually as deeply as possible, which provides such great results. Previewing is always and in any version of the program free, after which the file is automatically restored. You only need then to purchase a license and download data to the new storage device, for which the Wizard will help you.
Follow this guide:
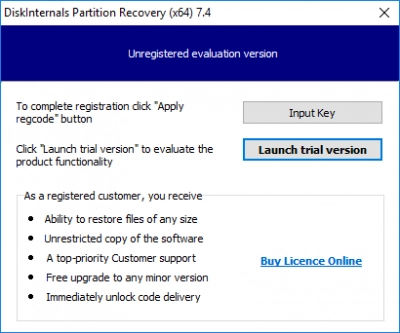
1. Download the desired version of DiskInternals Partition Recovery and open it.

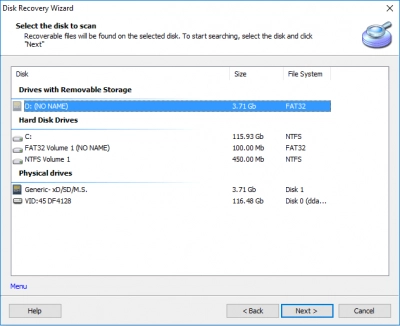
2. The Recovery Wizard will direct you in the right direction: it will ask you to select a disk, and it will also make it possible to determine which files will be in priority during scanning.

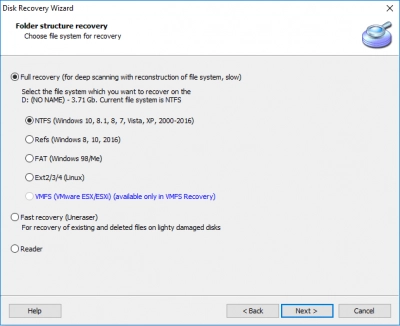
3. Select the scanning mode.

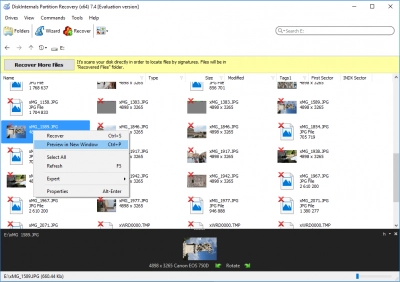
4. Preview files marked with a cross in the upper left corner.

5. Export after entering the license key (it will be available to you after purchasing the license).
Now keep the new repository fully protected, and it’s best to backup critical files.

