
Excel Recovery Guide in Pictures
Launch the executable file you downloaded. When an installation is done you can start the restoration of your data. The software is easy to use and does not require any additional skills.
Excel Recovery Start:
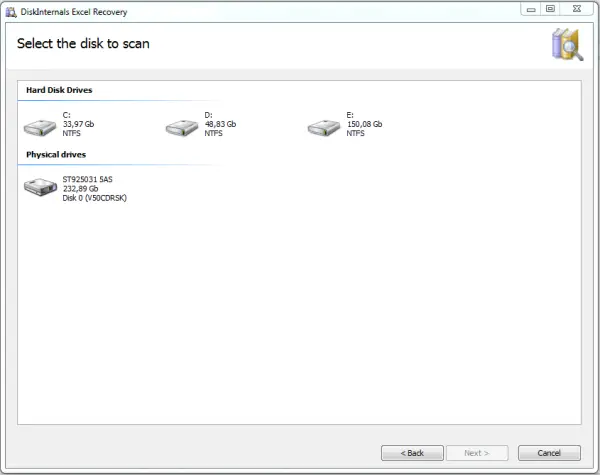
You need select the disk to scan:
Search for recoverable files will starts. After finishing the Wizard, and press Finish - the main window will open.
Here you can preview and select the files you want to recover. You select files and click the red cross named "Recover".
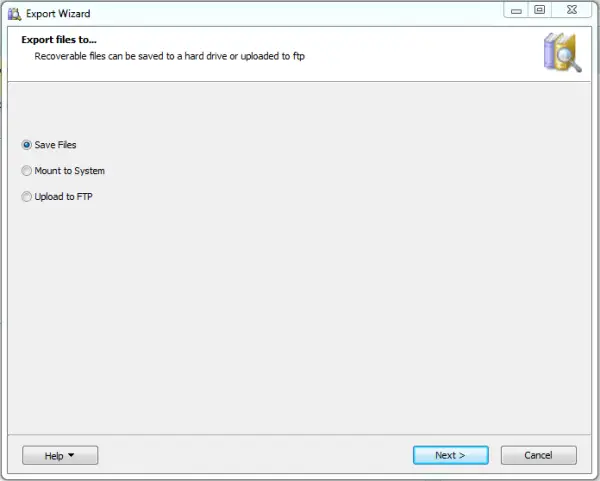
Now you need to choose how to export your files: save files, mount to system, upload to FTP.
Since now you know that you are able to recover your Excel files, you need to purchase the program online. Good luck!
Related articles
- Excel not responding? Fix it!
- Have you encountered runtime error 13? Fix it!
- Solve the 'Not saved' error in Excel Today!
- Manual for fast and safe corrupted Excel file recovery!
- Excel Compatibility Mode
- Excel won’t open file? These methods can help you
- Retrieving data, wait a few seconds
- What to Do if Changes Could Not Be Saved in Excel 2010
- How to recover Excel files
- Fix the “Excel found unreadable content” error today!
- Repair a corrupted Excel file in Windows 7/8/10
- Excel cannot open a file? Try these 4 methods!
- If Excel has stopped working what should you do
- [SOLVED] Excel cannot complete the task
- Restore lost Excel files
- If Excel file disappeared
- How to remove Gridlines in Excel
- Excel temp files: what to do with them?
- How to Unlock Excel Files from being Read-Only
- If Excel 2016 opens blank - what can you do
- Recovery of Lost/Unsaved/Temporary/Overwritten Excel Files in Windows 10
- Recovery of Excel file with DiskInternals Excel Recovery